I'm currently building a fly rod for sale on my website www.whitewatervalleyflies.wordpress.com and I thought I'd do a step by step guide to building a fly rod. Disclaimer: everyone has different methods but mine have build the rods that I have used exclusively for the last year!

I purchased a blank online and components from a seller on Ebay who has been helpful to me in the past. I started out with 1-7 1/2 foot, 4 piece, 3/4 weight fly rod blank. 2-Silk rod building thread. 3-7 inch inletted cork grip, hardware and wood insert for reel seat. 4-appropriately sized snake guides, tip top, and hook keeper. 5-Winding check 6-Epoxy, syringes w/o the needle to ensure equal parts resin and catalyst. (not shown-superglue, rat tail file)

I first reviewed a guide spacing chart. Using a pencil I marked the rod blank from the tip following these measurements closely. Pictured below is my method for checking the "tendency" of the blank.
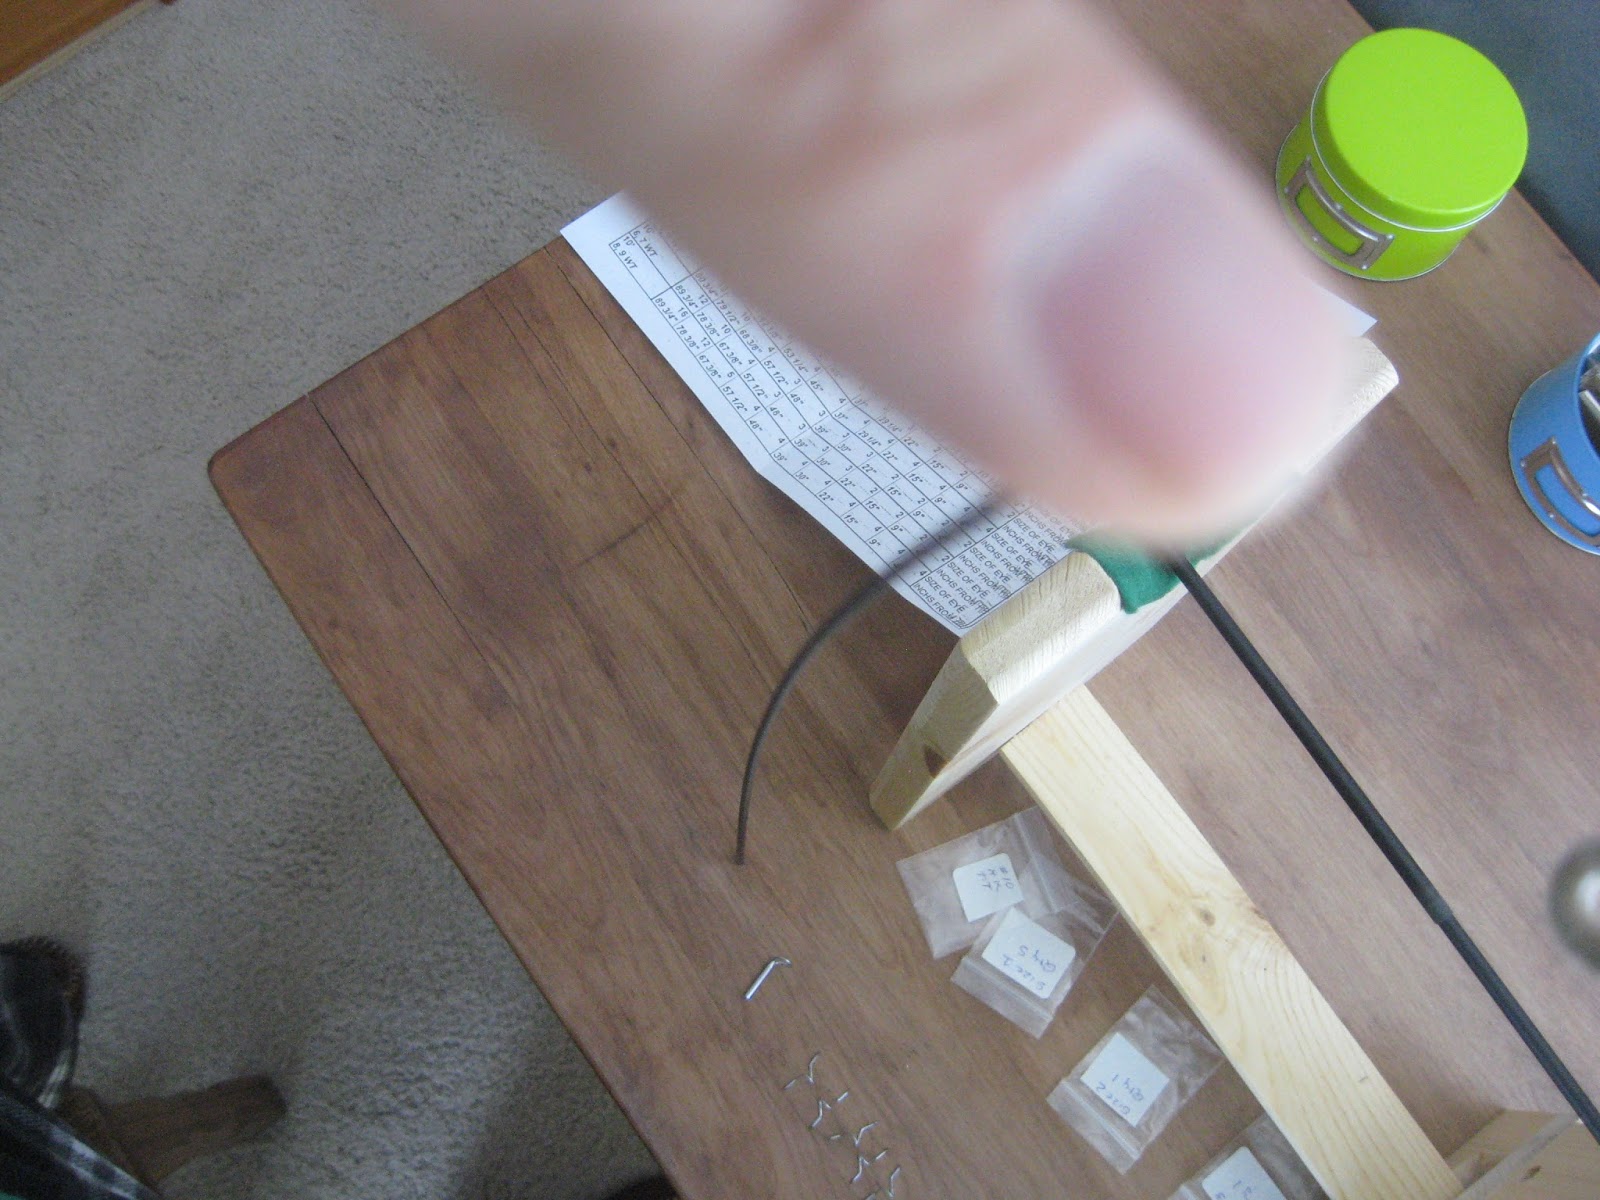
Every blank has a spine and a belly. From what I've researched there is no rhyme or reason for placing guides on the belly vs the spine but guides must line up on either the belly or spine for the blank to perform at it's best. I then marked the spine at the first guide spacing mark on each section of blank.

Next I used super glue to secure the guides to the blank. There are a number of ways to do this but I've found that this allows me to get them all strait. Note: I payed a little more for guides but many styles require some prepping (filing and de-burring). After all the guides are secured I mixed up the epoxy and placed the tip top.

I let the epoxy settle for around 30 minutes before carefully construction the reel seat. This part can be challenging as you don't want the epoxy to run over and blemish the seat.

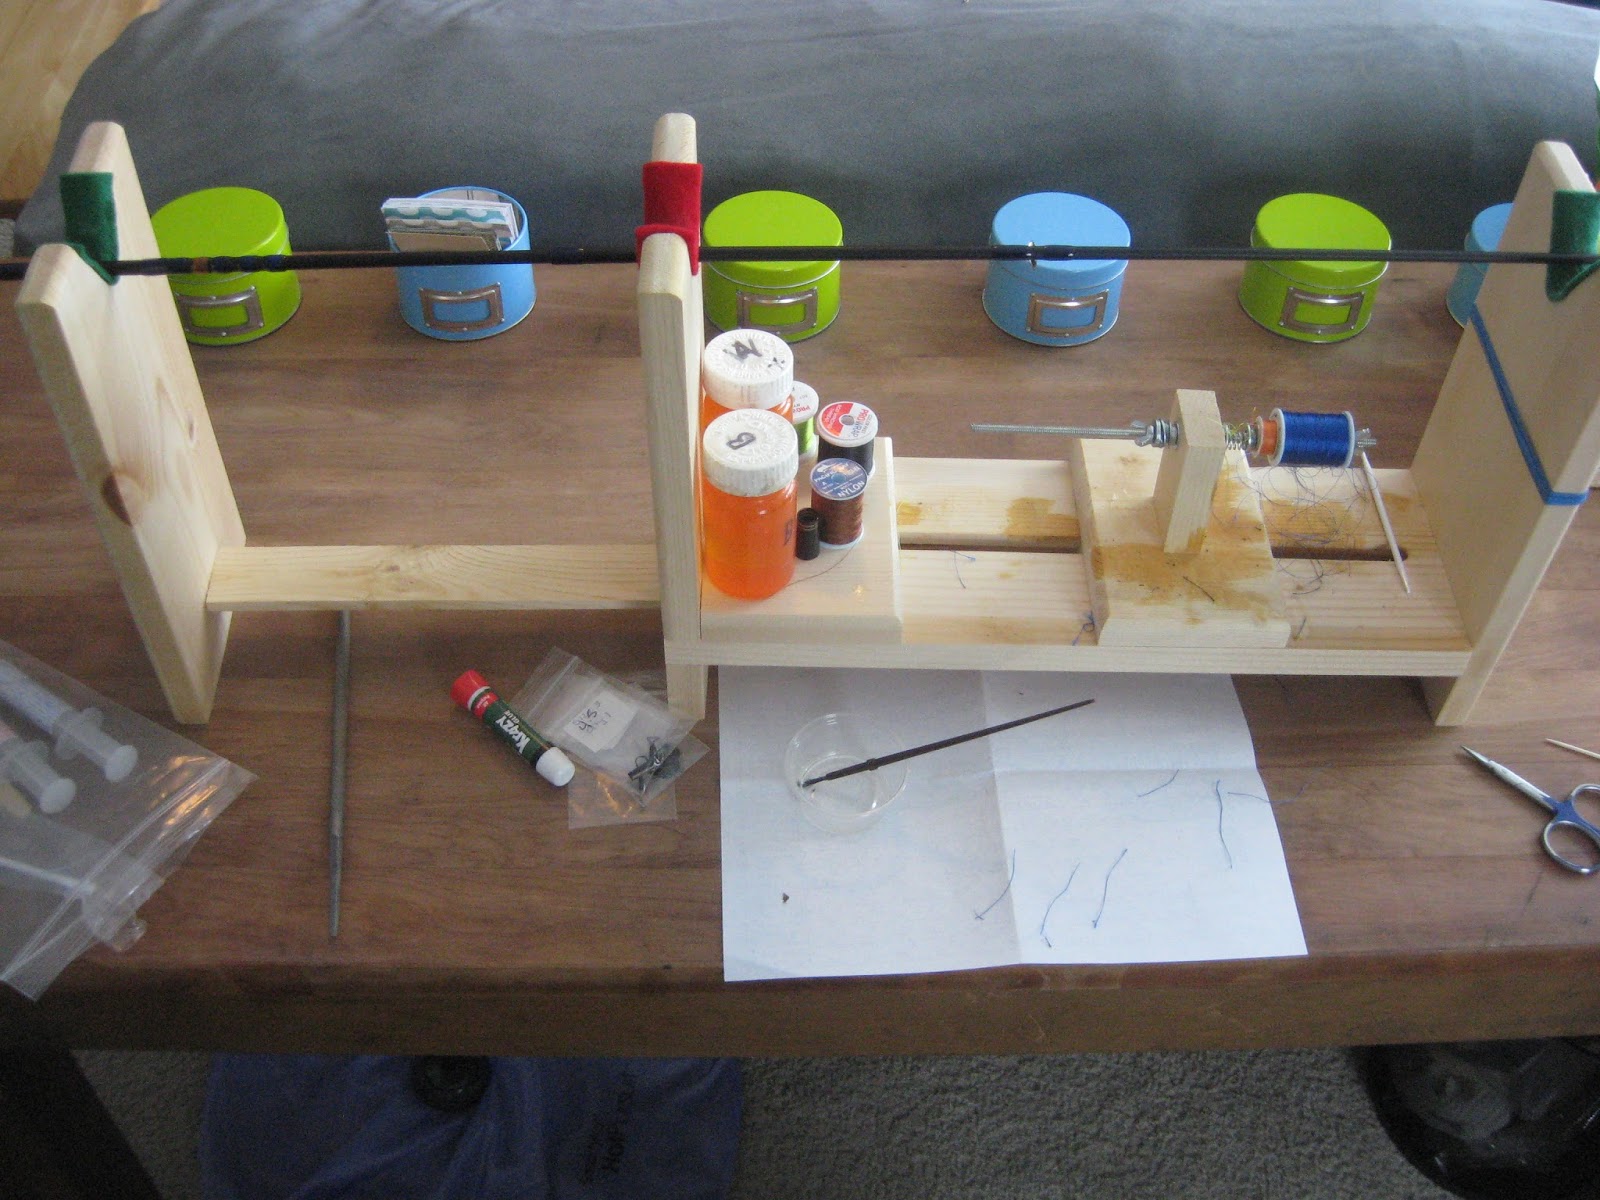
Then I placed the blank on the jig and spun the thread over the guide feet. Tying off the tag end of the thread can be difficult. I use a length of thread placed a few winds prior to the end of the guide foot. Then I place the tag end through the loop and pull the loop backwards. This pulls the tag end back under the wrapping securing the wrap. I do this for every guide and at every ferrule (end of the section) for increased strength.


After wrapping the guides I used a rat tail file to ream out the cork grip. I do this little by little until the cork fits snug to the point where the reel seat will cover. I forgot to take a picture but the blank needs minor prepping before the
reel seat is placed. I wrapped two sections of the blank with a thin
layer of tape so that the blank fit snug into the seat. Hopefully at this point the reel seat is set enough to epoxy into place.

After brushing epoxy onto the blank and into the reel seat I place the reel seat and slid the grip down to fit like so. Then I epoxied the winding check over the side of the grip opposite the reel seat.

At this point the guides are wrapped, the reel seat and grip are placed, and the winding check is set.
Stay Tuned: tomorrow I'll include the final steps. I still must glue and wrap the hook keep, do decorative wraps, and finish the guide wrapping with epoxy.
Welcome to tomorrow!
 This morning I added the hook keeper just above the grip. I then completed decorative wraps before mixing up a two part epoxy used to coat the thread wraps.
 I ever so carefully coated the wraps being sure to apply epoxy evenly. You'll notice in the picture below that the color of the thread changes when the epoxy soaks in. If a builder would like to retain the vibrant color of the thread one can apply "color preserver" which...preserves the color. This would be done prior to applying epoxy.
 I don't currently have a rod dryer so I sat and watched tv for 1 1/2 hours while turning the rod 45 degrees every five minutes.
 Finally I will let the rod sit for 24 hours for the epoxy to set. Before I take final photos I'll clean any marks that left on the blank from marking the spine and guide placement.
Stay tuned to see pics of the final product!
Welcome to tomorrow!


Stay tuned to see pics of the final product!
No comments:
Post a Comment